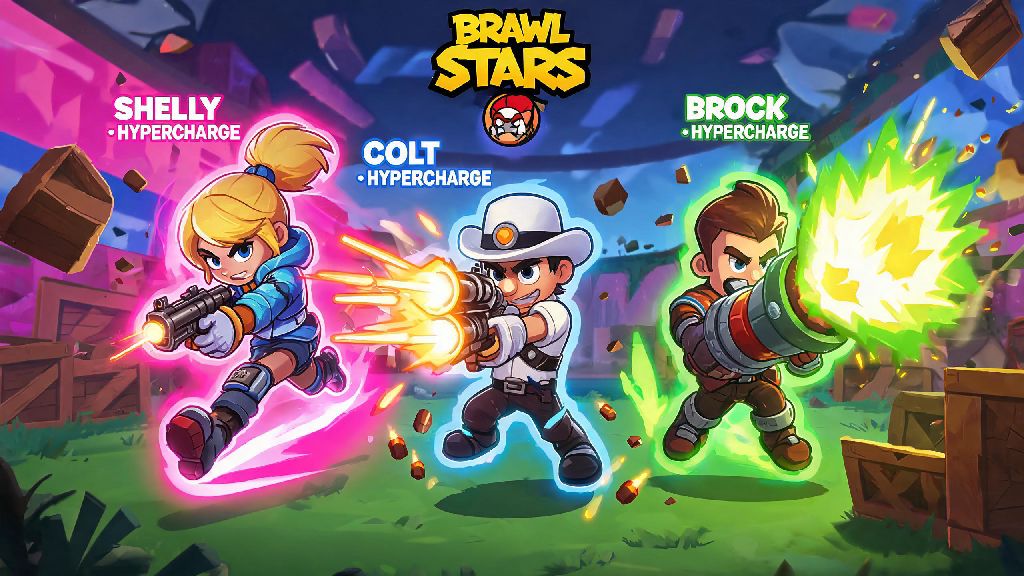
If you’ve ever spent 10 minutes grinding a Gem Grab match only to get wiped by a single El Primo who popped his hypercharge and dashed into your spawn, you know exactly how game-changing these abilities are. Hypercharges didn’t just add a small buff to Brawl Stars’ brawler roster – they completely flipped the meta, turning once mid-tier picks into competitive staples overnight. It’s no wonder so many players, new and veteran alike, ask what is the best hypercharge in Brawl Stars to invest their hard-earned coins and power points into. The short answer is that there’s no universal pick, but we’ve broken down all the top options by playstyle, game mode, and skill level to help you pick the right one for your roster.
How to Figure Out What is the Best Hypercharge in Brawl Stars for You
Before you drop 5,000 coins on a hypercharge for a brawler you barely play, you need to narrow down your priorities based on how you actually play the game. If you only ever play Solo Showdown to push trophies, a support-focused hypercharge like Sandy’s will be almost useless for you, even if it’s top tier in competitive team play. The best hypercharge for you will align with three core factors: your main brawler role, the game modes you spend most of your time on, and your skill level with that specific brawler.
You also don’t need to buy a hypercharge for every brawler you own. Most casual players only main 2-3 brawlers across all modes, so investing in hypercharges for those first will give you far more value than spreading your resources thin. It’s also worth testing hypercharges in friendly matches first, if you have a friend who owns the one you’re considering, to see if it fits your playstyle before you spend coins on it.
Top Tier Hypercharges Ranked by Use Case
While there’s no one-size-fits-all pick, these three hypercharges consistently top tier lists across casual and competitive play, thanks to their versatile effects and low skill floor to get value. We’ve broken down their pros, cons, and ideal use cases to help you decide if they’re right for you:
All three of these hypercharges are worth investing in if their use cases align with how you play. They also hold their value across meta shifts, as their core effects are strong enough that they never fall completely out of use, even when other brawlers get buffs or nerfs. I’ve personally used all three to push past 10,000 trophies, and they still feel just as strong as they did when hypercharges first launched.
Hypercharges to Avoid for Casual Players
Not every hypercharge is worth buying, especially if you’re a casual player who only plays a few matches a week and doesn’t grind competitive tournaments. Some hypercharges have extremely high skill floors, meaning you need hundreds of matches of practice with the brawler to get any real value out of them. Others are only useful in very specific niche modes that most casual players barely touch.
You don’t need to spend coins on hypercharges for brawlers you play less than once a week, no matter how good their hypercharge is supposed to be. For example, Mortis’ hypercharge is extremely strong in competitive play, but it requires perfect movement and positioning to use effectively. Most casual players end up feeding more with it active, as they get overconfident and dash into enemy teams without backup. Piper’s hypercharge is another one that only works if you hit almost 100% of your long-range shots; if you miss even one or two while it’s active, you’re wasting the entire buff.
You also want to skip hypercharges that only work for one specific mode, unless that mode is the only one you play. Mr. P’s hypercharge is great for Heist, but it’s almost useless in every other mode, so it’s not a good pick for players who mix up their modes regularly. I made the mistake of buying it early on when I first started playing, and I’ve used it maybe 5 times total in the last year.
Pro Tips to Get the Most Out of Your Hypercharge
Even the best hypercharge in the game is useless if you use it wrong. These simple tips will help you get way more wins out of any hypercharge you buy, no matter which brawler it’s for:
Wait for the right moment to pop your hypercharge, don’t use it as soon as it’s charged. It’s tempting to activate it the second the bar fills up, but you’ll get far more value if you save it for high-impact moments. For example, if you’re playing Colt, save your hypercharge for when the entire enemy team is clustered behind a single wall, so you can pierce through and wipe all three of them at once instead of wasting it on a single low-health brawler.
Always pair your hypercharge with matching gadgets and star powers to maximize its effect. For example, El Primo’s hypercharge works best with his Meteor Rush gadget, which gives him a 40% movement speed boost for 3 seconds. You can use the gadget to run into the enemy team, pop your hypercharge, and use your super to stun the entire team before they can run away. It’s a combo that works 9 times out of 10 in close-range team modes.
If you’re playing team modes, communicate with your teammates before you use your hypercharge. If you’re playing Sandy, a quick heads up that you’re about to drop your hypercharge super lets your team push in with you, instead of them hanging back and wasting the healing and slow effect. You don’t need fancy voice chat either; the in-game quick chat commands work perfectly for this.
Hypercharges charge 20% faster when you’re near multiple enemies, so you can build them up faster during team fights. If you’re close to getting your hypercharge, stick near the edge of team fights to hit multiple enemies at once and fill the bar up in half the time it would take to hit single enemies in solo play. This trick alone has helped me get my hypercharge up 2 minutes earlier in most of my recent Gem Grab matches.
At the end of the day, what is the best hypercharge in Brawl Stars comes down to what you enjoy playing. If you love playing solo modes and long-range brawlers, Colt’s hypercharge is the obvious pick. If you prefer aggressive close-range play with friends, El Primo’s will carry most of your matches. If you main support roles, Sandy’s hypercharge will make you the most valuable player on every team you join. No matter which one you pick, remember to test it out in friendly matches first, save it for high-impact moments, and pair it with the right gadgets to get the most value for your coins.