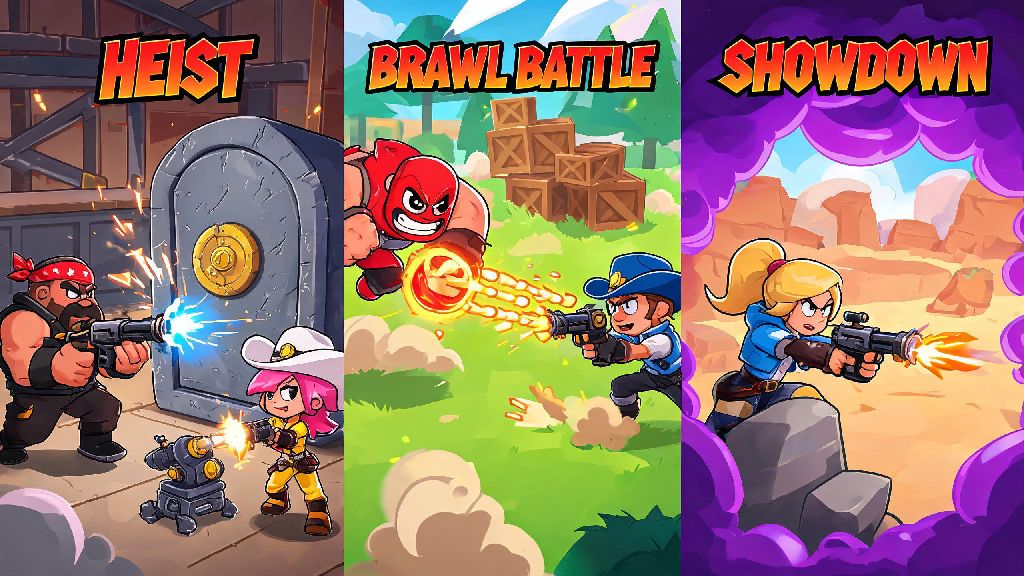
If you’ve ever been one-shot mid-gem carry in Gem Grab, or lost a Heist match by 1% because your team couldn’t burn through the enemy safe fast enough, you’ve definitely asked who does the most damage in Brawl Stars. The truth is, there’s no universal answer – a brawler that dominates in Showdown might be useless in Brawl Ball, and a top tier close-range damage dealer will get destroyed on an open map. I’ve spent over 3 years testing every brawler across all ranked and casual modes, tracking damage output across thousands of matches, to break down exactly which brawlers deal the most damage for every scenario, plus how to maximize your output no matter who you play.
Who Does the Most Damage in Brawl Stars by Game Mode?
Base damage stats only tell half the story, because each mode prioritizes different types of damage. For Heist, where your main goal is to burn through a stationary safe as fast as possible, close-range burst brawlers top the list. Bull deals 840 damage per shotgun blast, firing 4 blasts per second for a total of 3360 DPS when he’s right up against the safe. He can take down a full health safe in under 10 seconds if left unpressured, but he’s completely useless if the enemy has long range brawlers picking him off before he gets close. For long-range Heist play, Colt is your best bet: he fires 6 bullets per burst, each dealing 420 damage, for 2520 damage per full burst that can hit the safe from behind cover.
For open Gem Grab and Bounty maps, Piper is the undisputed damage queen. She deals up to 2200 damage per headshot at max range, one-shotting every squishy brawler in the game instantly. You can pick off enemy gem carriers before they even get close to your side of the map, and she can hold down entire lanes by herself if you land your shots consistently. For enclosed Gem Grab or Showdown maps, Edgar deals 1200 damage per punch, with a fast attack speed and built-in lifesteal that lets him wipe out entire grouped teams in tight corridors without taking much damage in return.
Brawl Ball and Siege favor brawlers that can deal area damage to multiple targets at once. Spike’s thorn bursts deal 520 damage per spike, and a well-placed shot can hit 2-3 enemies at once, clearing the path for your ball carrier or destroying a siege bot in seconds. He’s also one of the only brawlers that deals consistent damage to both enemies and objectives, making him a flexible pick for almost any mode if you know how to play him.
Burst vs Sustained Damage: Which Fits Your Playstyle?
When people talk about high damage brawlers, they usually split into two separate categories, and picking the right one for how you play makes a huge difference in how much damage you actually deal. Burst damage brawlers deal all their damage in a single short window, which is perfect for picking off enemies before they can react or heal. The biggest downside to burst brawlers is that they usually have very low health, so if you miss your burst, you’re left defenseless while you reload.
Sustained damage brawlers deal consistent damage over time, which is ideal for wearing down tanks, holding positions, and burning through objectives like safes or siege bots. They usually have higher health than burst brawlers, but they can’t one-shot enemies, so you need to pair them with crowd control brawlers to lock targets down so you can land all your shots. 8-Bit is a great example of a sustained damage brawler: he deals 1600 damage per pulse, has a 20% damage boost aura for his team, and can take more hits than most damage dealers, but he can’t take out an enemy in one hit unless they’re already low on health.
Before you pick any high damage brawler, ask yourself these four questions to make sure they’re a good fit for your match:
For example, if you’re playing Siege and your team already has a Frank tank, you can safely pick a squishy burst brawler like Bea to sit behind Frank and pick off enemy brawlers as they try to push. If your team has no tanks, picking a more durable sustained damage brawler like 8-Bit is a better call, so you don’t get wiped instantly when the enemy pushes.
Hidden Factors That Impact Actual Damage Output In Real Matches
The base DPS stats you see on brawler profiles don’t tell the whole story, and I’ve seen so many players pick a brawler with high listed DPS only to end up at the bottom of the damage scoreboard every match. Listed DPS doesn’t account for missed shots, first off. A brawler like Brock has 2400 damage per rocket, which sounds amazing, but if you miss half your shots because of his slow projectile speed, you’re only dealing 1200 damage on average, which is way lower than a brawler like Colt with faster, easier to hit shots.
Super charge rate directly boosts your total damage too. Brawlers that charge their super fast, like Dynamike, can use their super every 4-5 attacks, adding thousands of extra damage per match that doesn’t show up in their base DPS stats. Dynamike’s base DPS is only 1800, but if you’re using your super every time it’s up, your total damage output jumps to over 3000 DPS on average, and his super can destroy walls to open up new angles for your team to attack from.
Damage falloff is another big one most new players miss. Most brawlers deal 50% less damage when they’re outside their optimal range, so even if Piper does 2200 damage at max range, if you’re shooting someone 3 tiles away, you’re only doing 1100 damage, which is barely enough to take out a low health brawler. I’ve lost count of how many new players pick Piper for tight, enclosed maps, then wonder why they’re doing half the damage of every other player on their team. They never get far enough away from enemies to hit those max damage headshots, so they’re basically useless the whole match.
Tips to Maximize Damage Output With Any Brawler
Even if you pick the highest damage brawler for your mode and map, you won’t deal much damage if you don’t play them correctly. These tips work for every brawler, and I’ve seen players double their average damage per match after implementing them. First, learn your brawler’s optimal range. Every brawler has a sweet spot where they deal maximum damage, and you should practice staying in that range as much as possible. For example, Colt’s optimal range is 5-7 tiles, so you don’t want to get too close where you’ll get one-shot, or too far where your damage falls off.
Second, prioritize high value targets first. Don’t waste your burst on a full health Bull when there’s a Piper on the enemy team picking off your teammates from the back line. Focusing the right target can double your team's effective damage because you take out the enemy’s biggest threat first, instead of wasting shots on a tank that can heal or get supported by their team. It’s always better to take out the enemy damage dealer first, then worry about the tank later.
Third, use cover to reload safely. Don’t stand out in the open reloading, you’ll get picked off before you can fire again. Pop behind a wall, reload your full clip, then come back out to shoot. You’ll stay alive longer, which means you deal more damage over the course of the match. Even if you’re playing a tank, hiding behind cover to reload will let you stay in the fight longer instead of getting picked off mid-reload.
Fourth, save your super for high impact moments. Don’t waste your super on a single 200 health enemy running away when you can use it to hit 3 enemies at once, or take out 20% of the enemy safe’s health in one go. I once lost a Heist match by less than 2% because my teammate Brock used his super on a low health Edgar instead of blowing up the last bit of the enemy safe. It’s a mistake you only make once, and it’s an easy one to avoid if you think before you use your super.
At the end of the day, the answer to who does the most damage in Brawl Stars depends entirely on the mode, map, team comp, and how you play the brawler. A brawler that’s top tier in one scenario might be completely useless in another, so don’t just stick to one high damage brawler for every match. Test out the brawlers we covered here, use the tips to maximize your output, and you’ll be at the top of the damage scoreboard in almost every match you play.